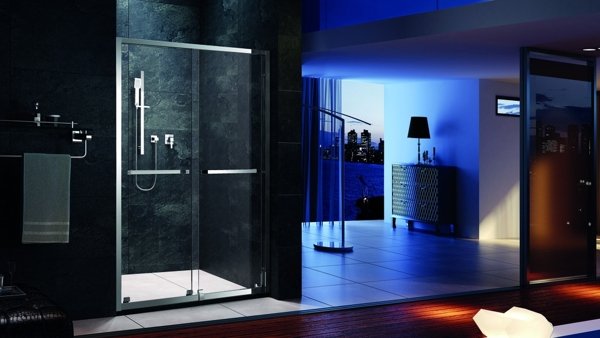
Whether a homeowner is renovating a small or large bathroom suite, a shower room or enclosure will undoubtedly be a great addition. The right kind of shower or bath cabin will maximize the space efficiently and add a touch of elegance and luxury to the area.
For that to be possible, one must learn how to install a shower room first.
Installing a shower room comes with an array of critical steps to follow. It is a step-by-step process, from fitting the shower tray, building the frame, adding the fixtures, and sealing the enclosure.
Learn about the steps here.
How To Install A Shower Room?
To install a shower room, one must follow the necessary steps: gather all the materials, fit the shower tray, build the shower enclosure, add the fixtures, and connect the water supply.
That is the general and basic instructions. However, know that it can be different for certain types of shower rooms, mostly because they have different parts and materials.
Whether the shower room of choice is a bath shower cabin or a steam cabin, installing it would undoubtedly be a challenge. Fortunately, it’s only complicated at first.
To help, here is a simple guide on installing a regular shower cabin in a bathroom space.
Step 1: Prepare the Materials
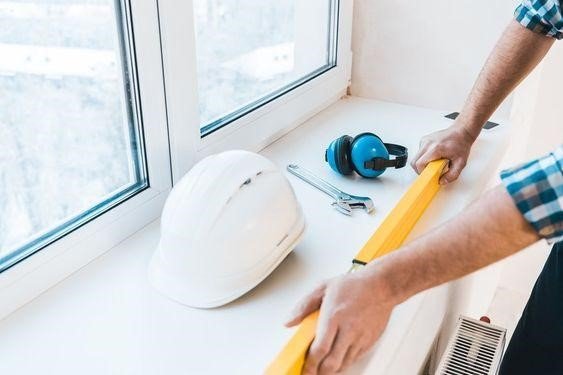
The first step involves gathering and preparing the materials. That way, they can adequately check their materials and see which ones they are missing.
By doing this, they will have all the materials on hand. That also means no stopping midway when they realize they need something they don’t have. Usually, when that happens, they break out of momentum.
The essential items to prepare are:
- Drill
- Spirit level
- Pencil
- Silicone sealant
- Rawl plugs
These are just the general materials. Some shower rooms, like a steam shower cabin and bathtub shower combo, might need more.
Step 2: Fit The Shower Tray
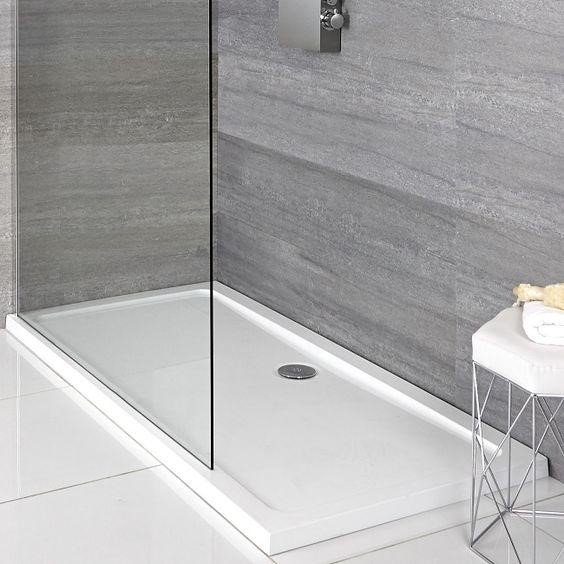
Before installing the shower pod, the shower tray must come first. The homeowner must turn the water supply off to safely do this. They must then fit the shower tray to a flat surface, and the waste pipe should be in the proper and correct place.
Fit the hot and cold water supply lines where the mixing valve will be — or at least close enough for easy connection using flexible hoses.
Now, mark and position the tray on the ground at the exact location of your choice. Use the spirit level to ensure the shower tray is leveled and flat. After, connect the tray to the waste pipe and apply the sealant.
Note that there are different types of shower trays: riser and low-profile. They are installed differently.
Step 3: Set Up The Shower Enclosure
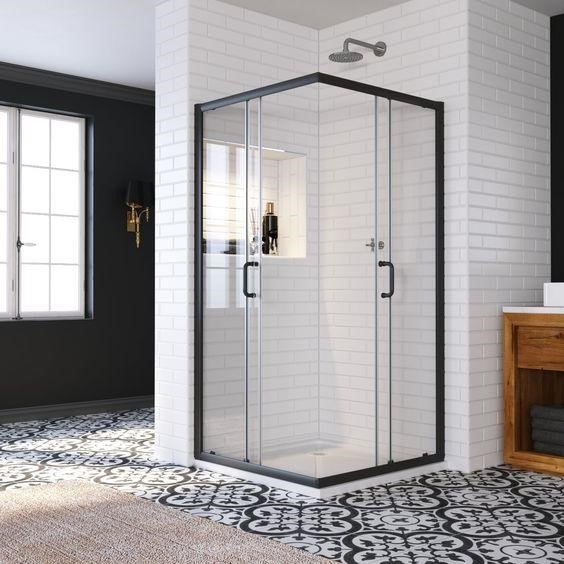
Once the shower tray is in place, it is time to build the frame of the shower enclosure. The specific steps and panels of the shower room will depend mainly on the type of enclosure. It means a steam cabin has different installation steps than a bath shower combo.
The general gist is simple, though. First, align the channels in the corner of the tray.
These channels will hold the shower glass in place, so align them properly. It would be best to ask another person for help since two sets of hands would be better.
Place the channel properly and use the spirit level to see if it’s vertically level. Once it is, use a pencil to mark holes.
Next, drill holes in the marks. Ensure that the correct drill bit for the surface is used to avoid damage. Also, check for electric cables and pipes first.
Once there is a hole, insert the rawl plugs. Now, attach the channel to the wall using the fixings. Make sure also to follow the instructions of the manufacturer. Slot the panels into the channels once after.
Step 4: Add Handles and Fixtures
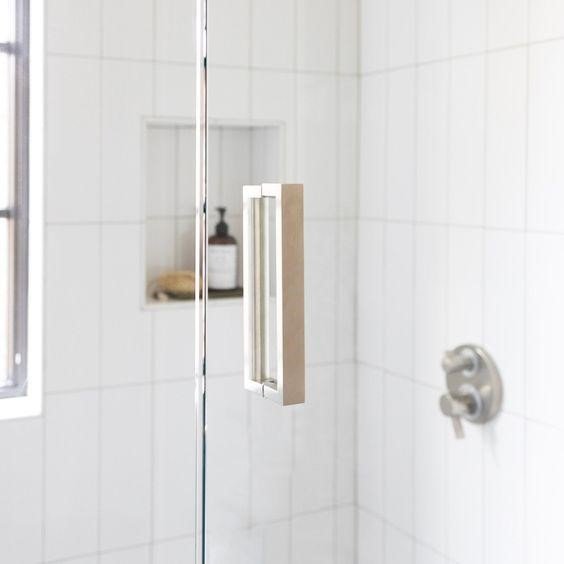
Once the frame is done, attach the handles and fixtures. The type will depend mainly on the shower enclosure, so refer to the manufacturer’s instructions.
Step 5: Test It Out
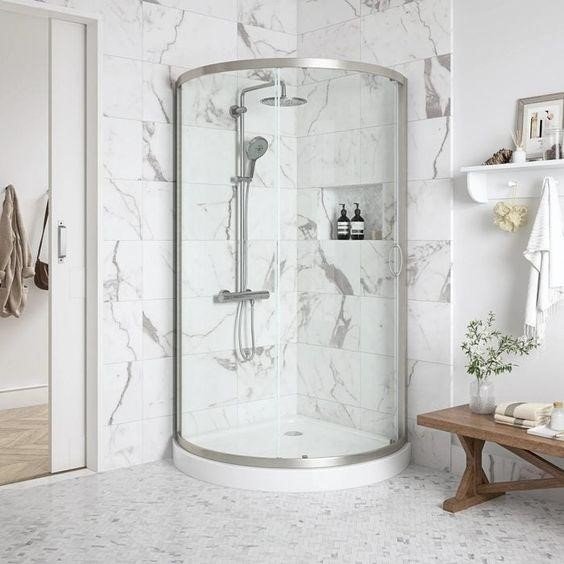
Next, connect the shower to the water supply. It would be best to ask someone with experience or knowledge about this than to handle this alone. The last thing one would want is to deal with a watery mess if it’s done wrong.
Finally, test the shower out.
Can You Install A Shower Room By Yourself?
Installing a shower room even with moderate to minimal DIY experience is possible. Most shower enclosures and cabins come with installation guides and instructions. If that’s not enough, hundreds of helpful and informative videos are online.
Most materials come with the unit or can be purchased in a hardware store. After gathering what they need, the next step would involve finding what type of shower room they have. Remember that different shower rooms are installed in different ways, with some coming with additional steps.
Single-panel units are more manageable and lighter to install. Most of the time, they are bought or delivered preassembled.
Multi-panels are at an entirely new level. They have more steps and parts, though the homeowner has more control over the appearance of the multi-panel showers.
When doing the installation without professional help, consider all the safety precautions. Wear gloves and goggles since drilling can kick out a lot of debris that can hurt the eyes.
If unsure, hiring a professional to help install the shower room would be best — either that or at least ask someone with experience.
Summary
Purchasing a new shower cabin or enclosure is the first step to achieving a gorgeous new bathroom suite. Although buying is incredibly different from installing.
Some people would prefer hiring professional help than doing the job themselves. However, installing the shower room can be a fun project for others who enjoy and have the talent for DIY.
It might seem difficult at first glance, but with enough reading and research, most would find it easy. All they would need is a trusty step-by-step guide to help!

